


Mastering Texture in Oil Paintings: A Guide for Creatives
YanNick
Frequently Asked Questions
1. What is texture in oil painting?
Texture refers to the physical and visual surface quality of a painting, which can be tactile (felt) or visual (appeared) and enhances viewer engagement.
2. What are the types of texture used in oil paintings?
The two main types of texture are tactile texture, which includes raised areas and different surface finishes, and visual texture, which is created through techniques that give the illusion of texture.
3. What tools are essential for creating texture in oil paintings?
Essential tools include palette knives, bristle brushes, soft brushes, sponges, and rags or cloths.
4. What is the impasto technique?
The impasto technique involves applying paint thickly to the canvas to create dramatic peaks and troughs, enhancing depth and visual interest.
5. How can I engage with my audience after creating textured oil paintings?
You can engage with your audience by sharing behind-the-scenes videos, hosting live painting sessions, and encouraging followers to share their interpretations of texture.
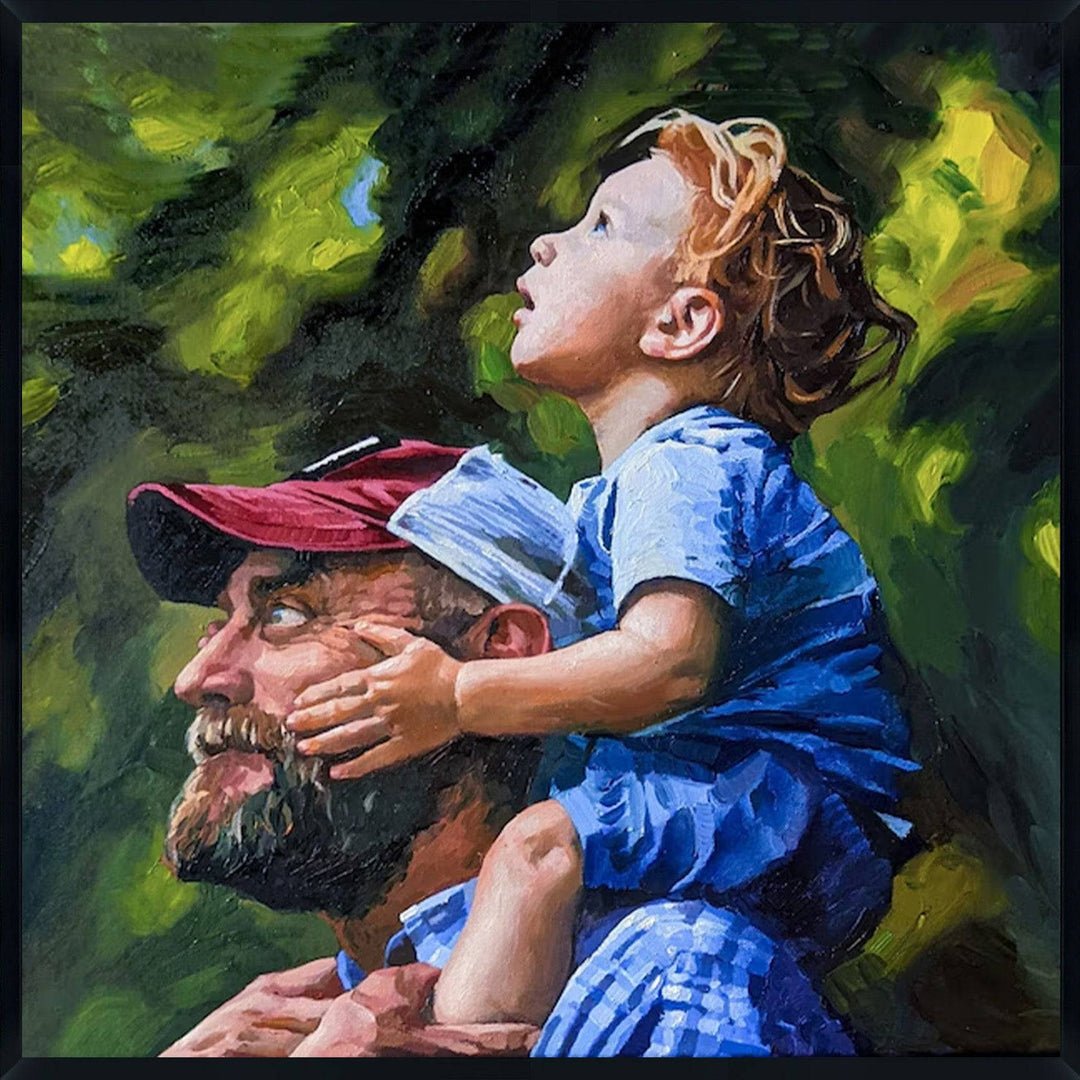
Creating depth and dimension in your artwork is crucial for engaging viewers. One of the most effective ways to achieve this is by incorporating texture into your oil paintings. Unlike other mediums, oil paints provide a unique opportunity to explore various techniques that can enhance your artwork's visual appeal. In this blog post, we'll delve deep into the world of texture in oil paintings, exploring methods, tips, and ideas for creating stunning custom oil paintings that stand out.
Understanding Texture in Art
Texture refers to the physical and visual surface quality of a painting. It can be tactile (the way it feels) or implied (the way it appears). In oil paintings, texture can create a dynamic experience for the viewer, allowing them to engage more deeply with the artwork. Here are some key components to understand when creating texture:
Types of Texture
- Tactile Texture: This texture can be felt; it includes raised areas or different surface finishes.
- Visual Texture: This type is created through the use of technique, allowing the viewer to perceive texture even though the surface is flat.
Choosing the Right Tools
Before diving into techniques, ensure you have the right tools for creating texture in your oil paintings. Here’s a list of essential tools:
- Palette Knives: Ideal for mixing paint and applying it thickly to create raised textures.
- Bristle Brushes: Use stiffer brushes for a rougher texture, allowing more brush strokes to show.
- Soft Brushes: For smoother texture and blending.
- Sponges: Great for creating soft textures and for applying paint in a different way.
- Rags and Cloth: Useful for scrubbing, wiping, or dabbing to create specific textures.
Techniques for Creating Texture
Now that you have your tools, let's explore various techniques for adding texture to your oil paintings. Each technique can be used alone or in combination with others for more complex results.
Impasto Technique
One of the most popular methods for adding texture is the impasto technique, which involves applying paint very thickly to the canvas. This creates dramatic peaks and troughs in your artwork. Here are some steps to utilize this technique:
- Choose your colors and load a palette knife or a brush with a generous amount of paint.
- Apply the paint directly onto the canvas without dilution for maximum thickness.
- Layer different colors to enhance depth and interest.
Dry Brush Technique
The dry brush technique involves using a brush that has very little paint on it to create a fine, scratchy texture. This technique works particularly well for creating subtle textures in landscapes or portraits. Here’s how to do it:
- Load a brush with minimal paint and remove excess by wiping it against a cloth.
- Lightly drag the brush across the canvas surface to create a whisper of texture.
- Use varying pressures to achieve different effects.
Glazing Technique
Glazing can add a soft texture to your oil paintings while also enhancing color depth. This involves applying a thin, transparent layer of paint over a dry layer. Here’s how to explore this technique:
- Mix oil paint with a glazing medium to create a semi-transparent wash.
- Apply it over the dried areas of previous layers using a soft brush.
- This subtle layer can create a rich, velvety texture that captivates the viewer.
Collage and Mixed Media
Incorporating other materials can add unique textures to your oil painting. Think about adding sand, sawdust, or textured paper to your paint. Here’s how to get creative:
- Mix your oil paint with a textured medium like sand or gravel.
- Apply it to the canvas with a palette knife to create a three-dimensional effect.
- Glue down materials like lace or fabric to enhance the tactile quality of the piece.
Exploring Color and Texture Relationships
Texture and color can work harmoniously to create a striking impact in your oil paintings. When exploring texture, consider how colors interact and enhance each other:
Complementary Textures
Consider using contrasting textures to create tension and interest. For instance, pairing a smooth glaze with a heavily textured impasto area can create a dynamic balance in the artwork.
Textural Influence on Emotion
The texture can evoke certain emotions. Rough, heavy textures might invoke feelings of chaos or turmoil, while smooth, soft textures can create calmness. Pay attention to how the textures you choose may enhance the narrative of your custom oil paintings.
Experimentation: The Key to Mastery
The beauty of creating textures in oil painting lies in the potential for experimentation. Don’t be afraid to try unconventional methods or mix various techniques to find your unique style. Here are some tips for successful experimentation:
- Keep a journal of your experiments, noting what works and what doesn’t.
- Set aside canvases for trial runs; you can learn a lot even from the pieces you won’t show.
- Don’t be discouraged by failure; each experiment is a step toward your mastery of texture.
Balancing Texture and Composition
While texture adds interest and engagement, it’s essential to ensure it doesn’t overpower the overall composition of your painting. Here are some considerations:
Hierarchy of Texture
Establish a hierarchy by deciding which areas of your painting will be textured and which will remain smooth. This approach can guide the viewer’s eye effectively through the artwork.
Using Negative Space
Negative space can be just as impactful as textured areas. Allowing some parts of the canvas to remain untouched can enhance the visual impact of the textured areas.
Final Touches: Varnishing Your Artwork
Once your painting is complete, consider applying a varnish for protection and depth. This final step can enhance the richness of the colors and provide a uniform finish across both textured and smooth areas. Here’s what you need to know about varnishing:
- Wait until your painting is completely dry before applying varnish, which may take several months for thick layers.
- Choose between gloss, satin, or matte finishes based on the desired effect you want to achieve.
- Apply varnish with a soft brush in even strokes to avoid disrupting the texture.
Engaging with Your Audience
Once you've crafted your textured oil painting, the journey isn’t over. Engaging with your audience through various platforms can significantly expand your reach. Here are some effective ways to connect:
- Share behind-the-scenes videos of your painting process on social media platforms.
- Host live painting sessions to demonstrate your techniques in real-time.
- Encourage followers to share their interpretations of texture in their artwork.
Creating texture in your oil paintings opens up a world of opportunity for expression and engagement. As you experiment with various techniques, tools, and color relationships, you'll find yourself able to tell richer stories through your custom oil paintings. So pick up your brush, explore the vast potential of texture, and let your creativity shine!


